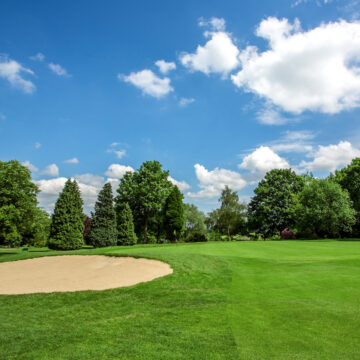
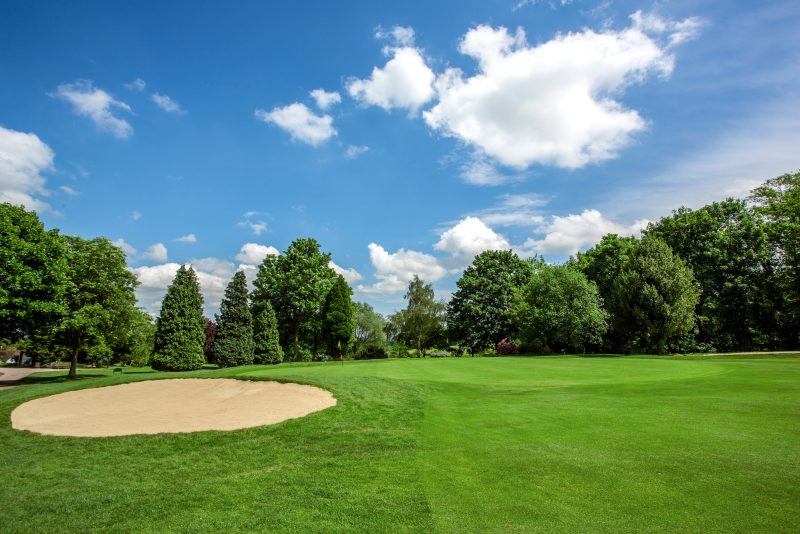
18th - The Elms
A good finishing hole which often gives strong hitters a sight of birdie, or even an outside chance of eagle. For most the green is reached in three shots.
Drive
A drive down the right hand side is perfect, but to reach the green you will still need to carry a huge beech tree at the corner of the dogleg.
Approach
Most golfers will play their final approach from the corner of the dogleg to a green sloping severely away. Landing the ball in the right place is essential, usually just short of green. Leaving a final putt uphill is preferable, rather than a slippery downhiller to win the match.
18th - The Elms
Hole
#18
Par
5

| Yards | Par | SI | |
|---|---|---|---|
 | 490 | 5 | 16 |
 | 467 | 5 | 16 |
 | 451 | 5 | 6 |
Course Status
The Warren Golf Course is open.

The Course
1st - The Pythle
1
2nd - The Pond Hole
2
3rd - Death or Glory
3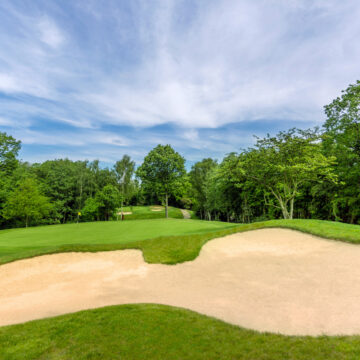
4th - Collies
4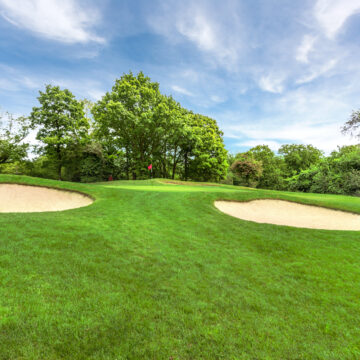
5th - The Grove
5
6th - Chestnut Drive
6
7th - Thirteen Acres
7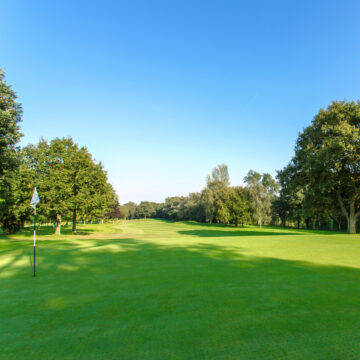
8th - The Slips
8
9th - Sand Hills
9
10th - The Valley
10
11th - The Poplars
11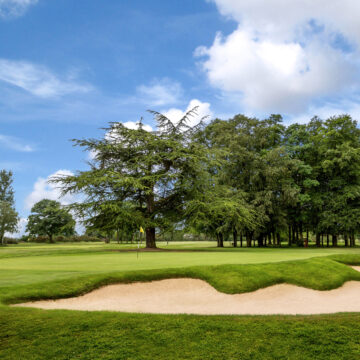
12th - Beech Drive
12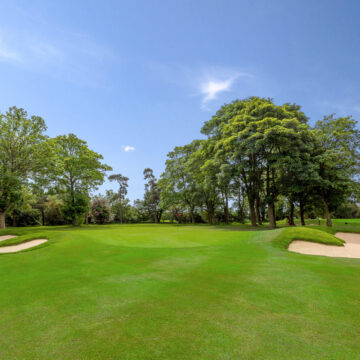
13th - Redgates
13
14th - Garlands
14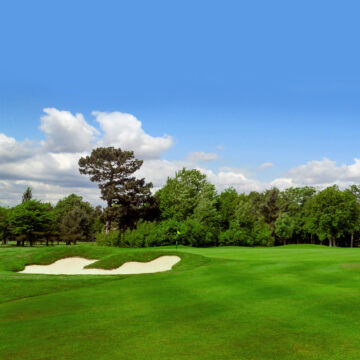
15th - Oak Rise
15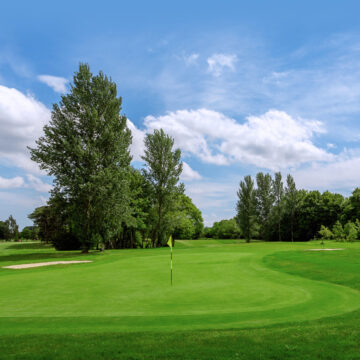
16th - Hylton Woods
16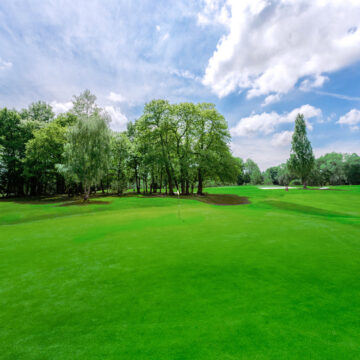
17th - The Well Hole
17